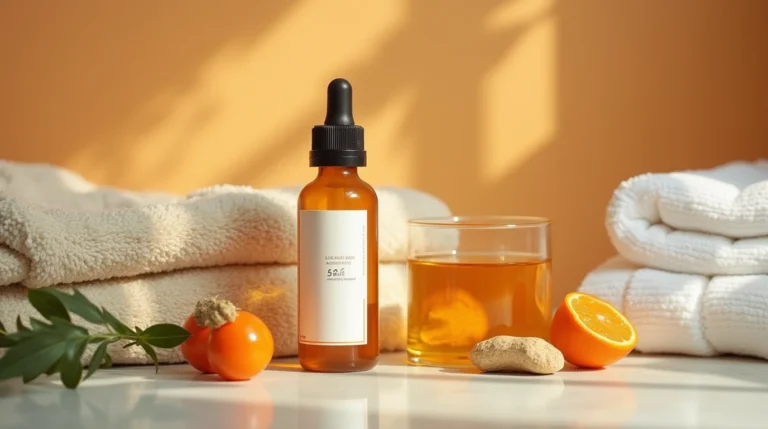
Have you ever thought about the power of natural ingredients in your skincare routine? Imagine infusing your daily regimen with the vibrant essence of citrus. It’s not just refreshing—it’s transformative. Natural skincare is more than a trend; it’s a way to connect with the earth and nurture your skin with care.

Table of Contents
Creating your own products can be a rewarding experience. With a simple DIY recipe, you can craft a cold-process soap that’s both effective and personal. Using concentrated essential oil and real citrus zest, you’ll unlock a natural aroma that lasts. This process ensures every ingredient is chosen by you, for you.
Timing is key in this craft. From mixing to curing, each step matters. The result? A long-lasting, skin-friendly product that’s free from synthetic additives. This guide will walk you through the entire process, making it easy to create something truly special.
Key Takeaways
- Natural ingredients like citrus and essential oils enhance skincare routines.
- Cold-process soap retains its aroma and benefits over time.
- DIY recipes allow you to control the quality of every ingredient.
- Proper timing during curing ensures a long-lasting product.
- Making your own soap is both practical and creatively satisfying.
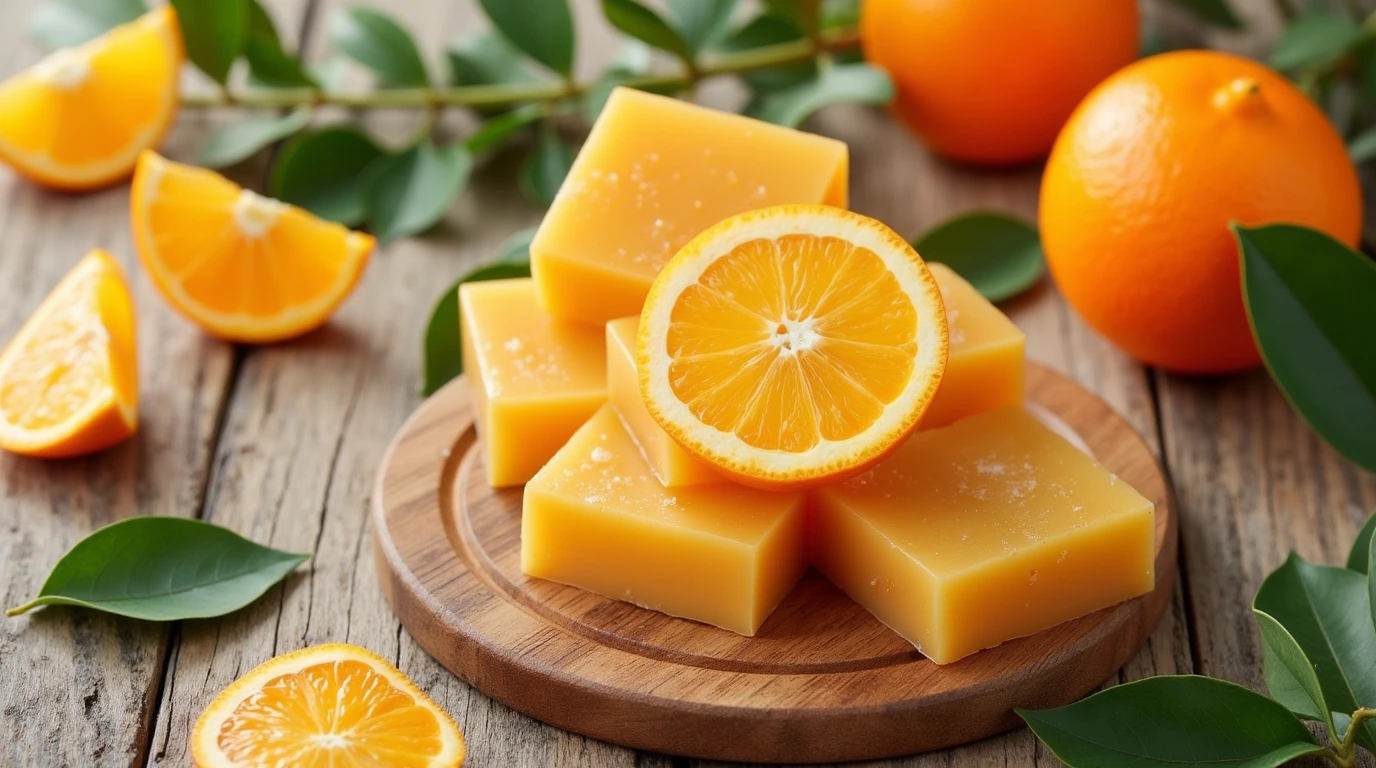
Understanding the Benefits of Orange Soap
Discover how natural citrus can transform your skincare routine. Packed with nourishing properties, citrus-based products offer a unique blend of freshness and care. By using ingredients like orange zest and essential oil, you can create a product that’s both effective and sustainable.
Boosting Your Skin with Natural Citrus Properties
Citrus ingredients are known for their ability to rejuvenate and brighten the skin. The natural fragrance of orange zest not only provides a pleasant scent but also delivers antioxidants that protect your skin. Essential oils, like those derived from citrus, help maintain moisture and improve skin texture.
Unlike synthetic additives, natural ingredients retain their benefits over time. This ensures that your process soap remains effective and aromatic throughout its use. By following simple instructions, you can craft a product that’s tailored to your needs.
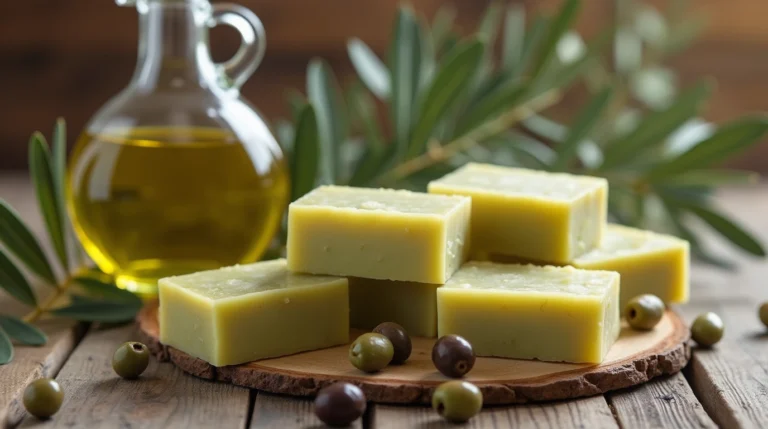
Sustainable and Skin-Friendly Ingredients
Choosing natural ingredients isn’t just good for your skin—it’s good for the planet. A hand-crafted blend ensures that every component is eco-friendly and gentle on your skin. This approach creates a base that’s free from harmful chemicals and synthetic compounds.
Here’s a quick comparison of synthetic vs. natural ingredients:
| Feature | Synthetic Ingredients | Natural Ingredients |
|---|---|---|
| Fragrance Longevity | Short-lived, evaporates quickly | Long-lasting, retains scent |
| Skin Impact | May cause irritation | Gentle and nourishing |
| Environmental Impact | Non-biodegradable, harmful | Eco-friendly, sustainable |
By understanding the benefits of each ingredient, you can make informed choices for your skincare routine. Embrace the power of natural citrus and enjoy a healthier, more radiant complexion.
Gathering Ingredients and Essential Tools
Ready to dive into the world of handmade skincare? Let’s start with the essentials. Crafting your own products requires precise ingredients and the right tools. Proper preparation ensures a smooth and safe process.
Essential Ingredients for Your Recipe
Every successful project begins with quality ingredients. For cold-process soap making, you’ll need:
- Distilled water: Ensures purity and prevents impurities.
- Lye (sodium hydroxide): A key component for saponification. Handle with care.
- Oils: Choose a blend like olive, coconut, or castor for a balanced base.
Exact measurements are crucial. Use a digital kitchen scale to weigh each ingredient accurately. This ensures the right chemical reaction and a smooth batter.
Tools and Safety Equipment You’ll Need
Safety is paramount when working with lye. Here’s what you’ll need:
- Stainless steel pot: Resistant to lye and heat.
- Heat-proof jug: For mixing the lye solution.
- Silicone molds: Flexible and easy to remove the final product.
- Safety gear: Gloves, goggles, and a well-ventilated space.
Setting up your workspace is equally important. Ensure your area is clean, organized, and free from distractions. Proper temperature control helps maintain the integrity of your ingredients.
Choosing the right soap mold impacts the final appearance. Silicone molds are popular for their flexibility and ease of use. Once your batter is ready, pour it into the mold and let it cure in a stable setting.
Step-by-Step Guide to Making Orange Soap
Crafting your own skincare products can be both rewarding and therapeutic. With the right steps, you can create a batch of natural, skin-friendly items tailored to your needs. This guide will walk you through the process soap making from start to finish, ensuring success even for beginners.
Preparation and Safety Measures to Follow
Before you begin, gather all necessary tools and ingredients. Safety is crucial when working with sodium hydroxide (lye). Always wear gloves, goggles, and work in a well-ventilated area. This minimizes risks and ensures a smooth process.
Prepare your workspace by covering surfaces and organizing materials. A clean, clutter-free area helps you focus on each step without distractions. Double-check measurements to avoid errors.

Mixing the Lye Solution and Oils Correctly
Start by dissolving lye in distilled water. This creates a chemical reaction that generates heat. Let the solution cool to around 100°F. Meanwhile, heat your oils to the same temperature. Combining them at the right heat prevents unwanted bubbles and ensures a smooth batter.
Slowly pour the lye solution into the oils while stirring continuously. This is where you’ll reach the trace stage—a thick, pudding-like consistency. Recognizing this stage is essential for proceeding correctly.
Molding and Curing for Optimal Results
Once the batter reaches trace, pour it into silicone molds. Tap the molds gently to remove air pockets and create an even surface. Let the mixture set for 48 hours in the mold. This allows the cold process to solidify the product.
After unmolding, cure the bars for 28 days in a cool, dry place. This ensures the batch reaches its optimal consistency and longevity. Patience during curing is key to achieving a high-quality product.
Expert Tips for Enhancing Your Citrus Scent and Texture
Unlock the full potential of citrus aromas in your DIY skincare products. Crafting a product with a vibrant scent and smooth texture requires careful ingredient selection and precise techniques. Let’s explore how to achieve the perfect balance.

Choosing the Right Essential Oil and Zest
Selecting the right essential oil is crucial for a long-lasting fragrance. Concentrated oils, like 10x or 5x orange, offer a more intense aroma compared to ordinary oils. These oils ensure your creation retains its scent throughout the curing process.
Adding zest not only enhances the visual appeal but also provides a tactile experience. Small flecks of orange or lemon zest create a natural texture while contributing to the overall citrus-forward aroma. For a balanced scent, consider blending both orange and lemon zest.
| Feature | Concentrated Essential Oil | Ordinary Essential Oil |
|---|---|---|
| Fragrance Intensity | High, long-lasting | Mild, fades quickly |
| Cost | Higher | Lower |
| Usage | Small amounts needed | Larger amounts required |
Maintaining a Consistent Fragrance Throughout Curing
To ensure your fragrance remains potent, start by thoroughly mixing the essential oil and zest into the batter. Use a distilled water stir technique to integrate scents evenly without compromising texture. This step is vital for achieving a uniform aroma.
During curing, place small batches in a cool, dry area. This helps the fragrance develop gradually and last longer. Silicone molds are ideal for controlling scent distribution and creating consistent patterns in your final product.
Remember, patience is key. Allow the full curing period of 28 days for the aroma to mature. This ensures your handmade creation delivers a vibrant, long-lasting citrus scent every time you use it.
Conclusion
Creating a natural skincare product from scratch is both fulfilling and practical. By using carefully selected ingredients, you ensure every bar is packed with benefits. Proper heat management and precise measurements in ounces guarantee a consistent texture and appearance.
Each step, from gently stirring the mixture to curing, plays a vital role. This ensures the final product not only looks appealing but also smells like a fresh, citrus burst. Managing water content and curing time enhances the longevity of the fragrance.
Every ingredient contributes to the quality of your creation. A lot of care goes into each step, making the process as rewarding as the result. Revisit the instructions and safety measures to perfect your next batch.
Experiment with adjustments to achieve your ideal bar. With patience and attention to detail, you can create a product that consistently smells like a natural, refreshing treat. Enjoy the journey of crafting something uniquely yours.
FAQ
What are the benefits of using citrus in your skincare routine?
Citrus ingredients like orange zest and essential oil are rich in antioxidants, which help brighten skin and combat free radicals. They also provide a refreshing scent and can improve skin texture naturally.
What tools do I need to make homemade soap?
You’ll need a stainless steel pot, a digital scale, a thermometer, a silicone mold, and safety gear like gloves and goggles. These tools ensure precision and safety during the process.
How do I safely mix lye with water for soap making?
Always add lye to distilled water, never the other way around. Stir gently in a well-ventilated area, and wear protective gear to avoid exposure to fumes or spills.
How can I enhance the fragrance of my citrus soap?
Use high-quality orange essential oil and fresh zest. Adding these ingredients at trace ensures the scent remains strong throughout the curing process.
How long does it take for homemade soap to cure?
Typically, it takes 4-6 weeks for the bars to fully cure. This allows excess water to evaporate, resulting in a harder, longer-lasting product.
Can I use other citrus fruits in my soap recipe?
Yes, lemon or grapefruit zest and essential oils can be great alternatives. They offer similar benefits and add a unique twist to your skincare routine.
How do I prevent bubbles in my soap mixture?
Stir gently and avoid over-mixing. Using a stick blender in short bursts can help achieve a smooth consistency without creating air bubbles.
What is the trace stage in soap making?
Trace occurs when the mixture thickens to a pudding-like consistency. This is the ideal time to add fragrance, color, or other enhancements before pouring it into the mold.